|
For more information about Closet Factory visit www.closetfactory.com/locations/jacksonville 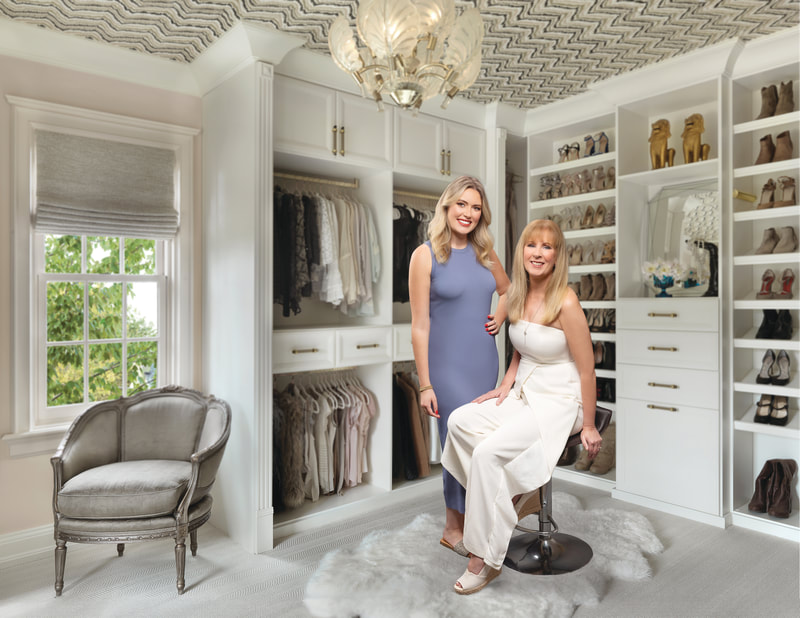 Closet Factory Jacksonville is owned by the Flores family and led by Jill and Sierra Flores, who oversee a team of in-house designers, carpenters, and installers. The company specializes in custom design and installation of just about everything related to home organization and decor. While their main business is designing closets they also install pantries, laundry rooms, home offices, entertainment centers, playrooms, wine rooms, and garages. The ultimate goal is to create solutions for clients that are both beautiful and functional, and fit the needs of each homeowner. From replacing builder-grade wire shelving to updating your home office, or laundry room, the Closet Factory team is incredible at what they do. In this month’s issue, Jill and Sierra will focus on a recent project, breaking down the Closet Factory process from beginning to end, showcasing their attention to detail, ability to customize, and the high-quality finished product (Like this one on the left) for which they are known and why clients love working with them.
|
 | 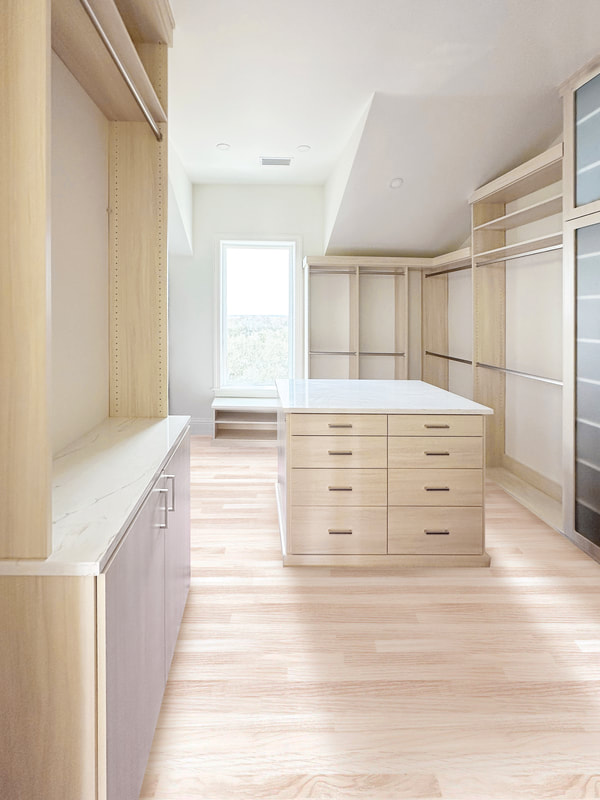 |
Design Collaboration | WHAT WAS THE GOAL OF THE PROJECT? The goal for this closet was to transform an entire room into a closet achieving both beauty and functionality simultaneously. The aim was to utilize all available space effectively, ensuring that every inch was maximized to its full potential. This involved careful planning and design to create a closet that not only looked aesthetically pleasing but also provided efficient storage solutions for their needs. WHAT WERE THE MAIN STEPS INVOLVED? Creating a closet design involves several key steps to ensure that it meets the homeowner’s needs and preferences. Here is a breakdown of the process: Measure the Space: The first step is to accurately measure the dimensions of the room. This not only includes measuring, but also taking into account any architectural features such as windows, doors and angled walls. Consultation with the Homeowner: We met with the homeowner to discuss their personal inventory and storage needs. This involves what type of clothing, accessories and other items they have, as well as specific preferences or requirements they may have for the closet layout and organization. |
3D Design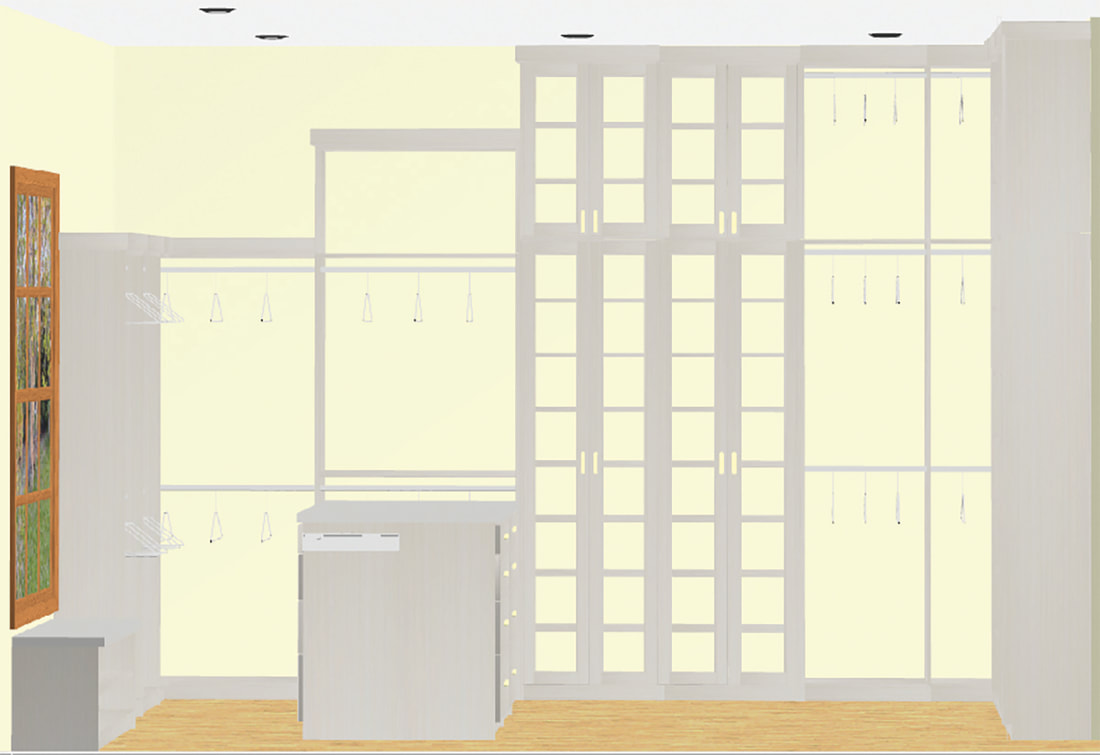 “This digital visualization allows clients to see a realistic representation of the closet layout, including the placement of furniture, storage components and accessories. This helps our clients to visualize the finished product and make any final adjustments or refinements before proceeding with production and installation.” | Design Creation: Based on the measurements and the homeowner’s input, we created a closet design that maximizes the available space while also addressing their storage needs and style preferences. Collaboration with Homeowner: We work side by side with the homeowner through presentation of the layout to ensure that it met all of their needs within this space. Product Ordering: Once the closet design was finalized, we order the necessary products and materials to bring the design to life. This includes manufacturing the materials, ordering the materials and accessories for this space. Engineering Review: The finalized drawings are reviewed by our engineering team for final approval prior to being sent to production. Production: After receiving engineering approval, the production team cut all of the necessary materials on-site at our Jacksonville Location. All of our projects are custom built right here in Jacksonville, tailored to our client’s needs. Installation: Once the production has been completed, the final piece of the puzzle is the installation! A professional installation team will assemble and install the closet according to the approved design, ensuring that it fits seamlessly into the space and functions as intended. HOW DID YOU HELP THE CLIENT VISUALIZE THE PROJECT? WAS A 3D MODEL PROVIDED? Walkthrough and Design Review: We took our client on a walk-through of the space while reviewing the design on the computer. This allowed them to get a feel for the layout in the space and understand how the closet will be organized upon completion. Measurement and Tape Layout: We often use tape on the floor to outline the components of the closet to help our clients visualize how it will look upon completion. Island Placement: We outlined where the island will be placed so the client could visualize it’s location within the space. 3D Rendering: After the walkthrough and tape layout, we provided the client with a 3D rendering of the finalized closet design. |
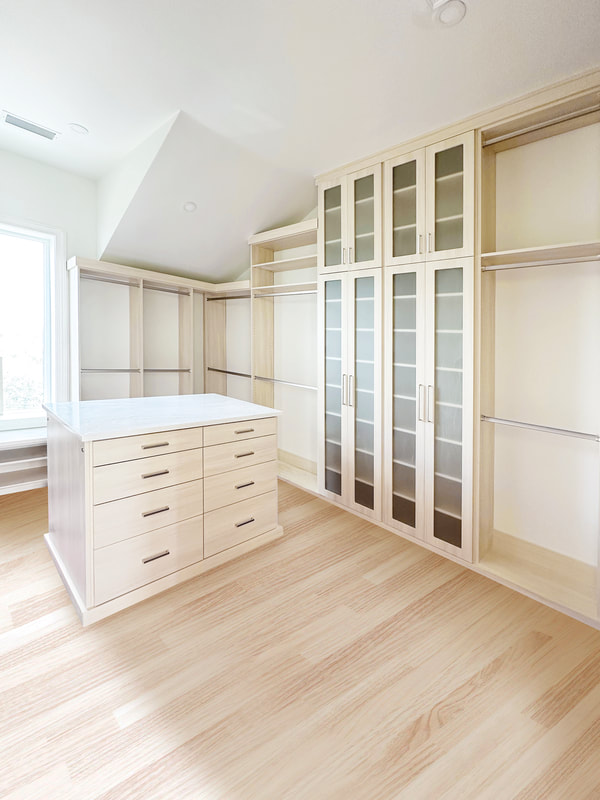
Final StepsBy combining these hands-on visualization techniques with digital 3D renderings, we can provide our clients with a comprehensive understanding of the project, ensuring that their needs and preferences are met every step of the way. This approach enhances the communication and collaboration, resulting in a successful outcome for their project. HOW WAS THE PROJECT CUSTOMIZED TO FIT THE NEEDS OF YOUR CLIENT? This project had many areas of customization based on the roofline for this room. Accurate measurements were crucial to ensure that the stacked system fit seamlessly against the angled walls and reached the ceiling in certain sections based on preferred design. Materials had to be built at custom sizes to fit the size of the room. There were many varying heights for the ceiling, and this was a main consideration when designing the space. We were also working with meeting the needs for their luggage storage, which resulted in customizing a section to fit this need. Our client wanted a custom stacked system with glass doors as a focal point to give it the “wow” factor! We created a “focal point” in the room to capture the “wow” factor they were seeking! WHAT WERE SOME OF THE CHALLENGES? WHAT WERE THE SOLUTIONS? Angled Walls: The challenge was the angle of the walls. Accurate measurements were crucial in this design. Not only were we working on angled walls, but the client was looking for a stacked system to increase the height of the units. The solution was to ensure the accurate measurements (we have our operations team come in for a re-measure to make sure the measurements are precise). The “wow” factor was a must in this closet. With the layout of this space, that was a challenge. We were able to provide a focal point in the closet that addressed the “wow” factor and provided the client with the look they were striving for! HOW LONG DID THE PROJECT TAKE TO COMPLETE (FROM THE INITIAL MEETING TO FINAL INSTALLATION)? The completion of the project was approximately 6 weeks from design to installation. This timeframe took 3 days to solidify the design and finalize plans, followed by the actual implementation and construction process. The installation process took 4 days to complete, once started. *The timeframe for a project will vary depending on factors such as material selection, complexity of design, and the current status of the house or space undergoing renovations. | 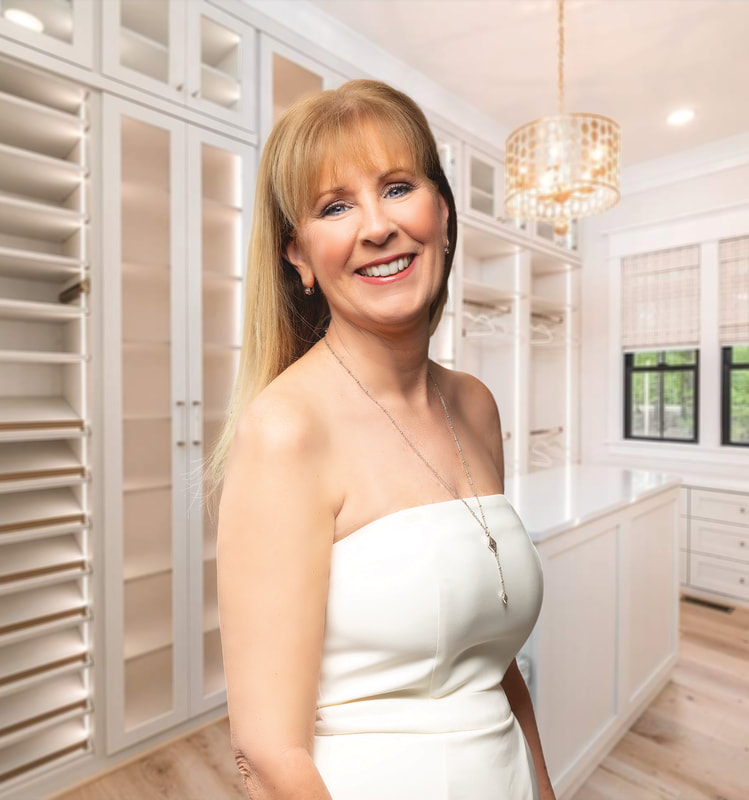 JILL FLORES With a long career in real estate and property management, Jill oversees the business side at Closet Factory  SIERRA FLORES Sierra is the lead designer overseeing the team at Closet Factory |
0 Comments
Author
Local Authors & Experts for St. Johns Magazine
Archives
April 2024
September 2023
August 2023
March 2023
September 2022
March 2020
August 2019
July 2019
February 2019
May 2018
March 2018
October 2017
June 2017
May 2017
March 2017
December 2016
October 2016
August 2016
June 2016
March 2016
December 2015
June 2015
Categories
All
Dorm Room Decor Ideas
Growth In St. Johns County
Markland Manor House
Meet The Neighbors At Shearwater In St. Johns
New Home Communities Guide 2017
Nocatee 2020
Patio Decor Ideas
River Stonework 2022
Shearwater
Shearwater 2017
Shearwater Resort Like Amenities
Summer Party Ideas
Why St. Johns Is The Place To Be!
 RSS Feed